The bride's colors were grey and light peach, so I used Basic Gray and and Fresh Cantaloupe card stock for the card. The grey striped panel is designer paper from Stampin' Up!s neutral collection. The butterflies were stamped with images from Papillon Potpourri stamp set and then punched out with the large butterfly punch. The white "lace" edge was embossed with Delicate Designs folder. and adhered to the card with snail adhesive. The white circle was made from whisper white card stock Stampin' Up!s 2-1/2" circle punch and then stamped with the greeting Happy I Do Day stamp from Word Play stamp set. I also added rhinestones in various sizes. Gotta have bling! Please leave me a comment below. As always thank you for visiting!
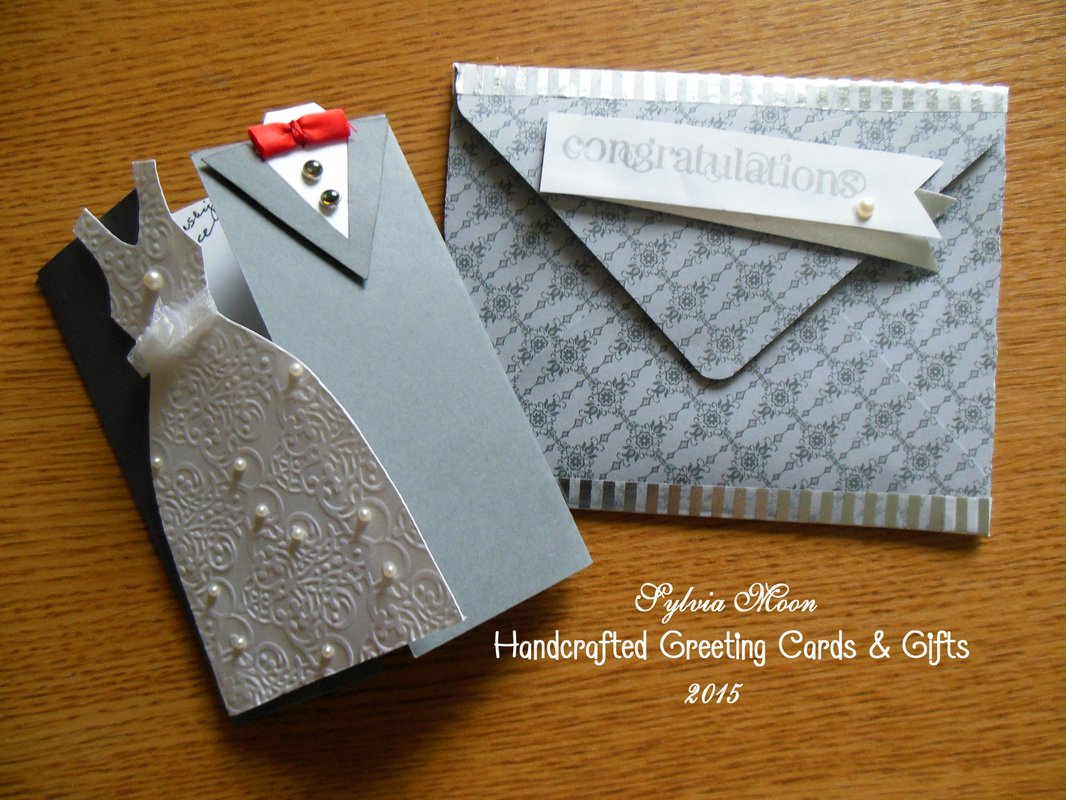
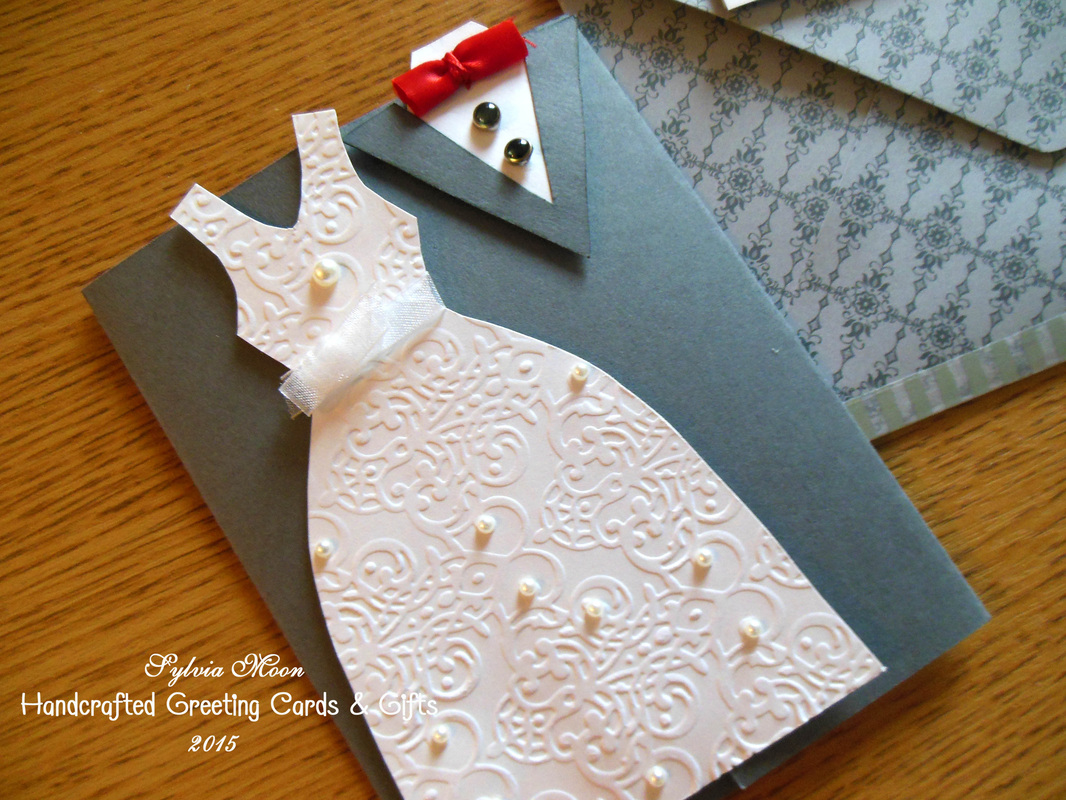
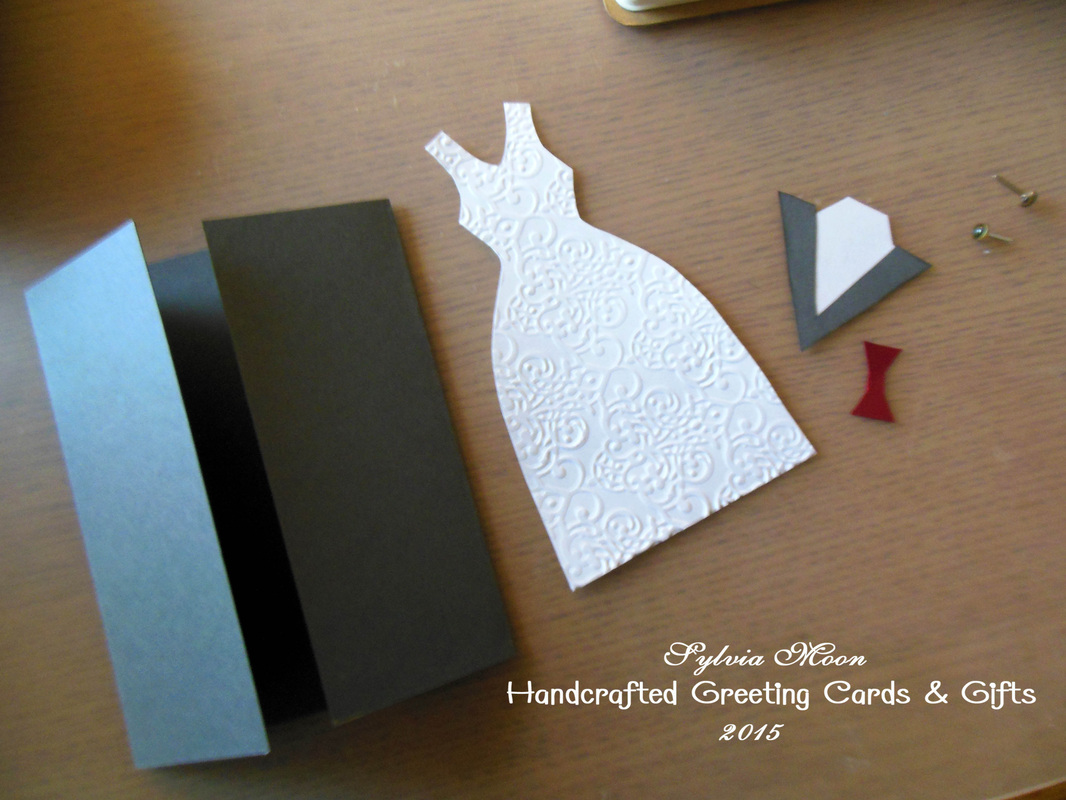
Sorry it's taken me so long to update my blog. Life sometimes gets in the way. . . Here are a Bridal sign and Wedding card I recently made. I recently purchased a Butterflies die set from Stampin' Up! and making the bridal sign seemed the perfect opportunity to use it. I've looked at other brands but I think these are the prettiest so I was really disappointed when they were out of stock. When they finally did arrive, I was overjoyed! On the sign I used Fresh Cantaloupe and Whisper White card stock for the die cuts as well as the butterfly punch for the small butterflies. The writing was done with a silver marker. The edges were sponged with Fresh Cantaloupe ink and the "ribbon" was pale pink streamer paper. Of course I needed to add some bling so I used strips of rhinestones and single ones as well.
The bride's colors were grey and light peach, so I used Basic Gray and and Fresh Cantaloupe card stock for the card. The grey striped panel is designer paper from Stampin' Up!s neutral collection. The butterflies were stamped with images from Papillon Potpourri stamp set and then punched out with the large butterfly punch. The white "lace" edge was embossed with Delicate Designs folder. and adhered to the card with snail adhesive. The white circle was made from whisper white card stock Stampin' Up!s 2-1/2" circle punch and then stamped with the greeting Happy I Do Day stamp from Word Play stamp set. I also added rhinestones in various sizes. Gotta have bling! Please leave me a comment below. As always thank you for visiting!
0 Comments
Here is a wedding card I made for a very fine gentleman I work with. I wanted to make something different and this is not my original design. Once again I found the design online and altered it. It came with a template which when I printed out was very small. I ended up having to tweak it a bit (actually a lot) and then did a few other things to make it my own. I found this design by Lynn Pratt. (Click the button below to be connected to the site) I was going to use black for the card base, but then decided that was too cliche' and grey seemed more elegant anyway. I used brads for the buttons partly because they would hold up better, but also because I thought those too looked more elegant. I first made the bow tie out of card stock but wasn't happy with the shape that came with the template. Then it came to me to use ribbon and I played around with that until it looked the way I wanted. The dress was a little easier. Wait what am I saying. It too was too small and so I had to enlarge it. I didn't want it to be plain so I ran the card stock through my big shot. It was a little tricky centering the image in the embossing folder to get the placement of the design just right. I think it came out nice though. I also thought it needed a little pizzazz (don't you just love that word?) and was going to place rhinestones on strategic places of the design. The pearls look more elegant though, don't they? I liked the way the design of the card has the bride and groom like a doorway and when you open it, you have the insert for people to sign what they want. I didn't put a sentiment on the inside because this card was from all our co-workers whose sentiments were more meaningful than anything already in existence. I stamped the envelope in silver encore ink and set it aside to dry for a few hours. When I went to put the card in the envelope, I found the design went beyond the dimensions of the envelope I had. so that called for a custom made envelope. It was already midnight and I had to go to work in the morning. What to do? Why continue with the project until it was done of course, especially since the card needed to be signed the following day. As luck would have it, I ran into all sorts of problems and didn't get to bed until around 2am. But art is like that. Never the less, I was very happy with the final results. What do you think? I will have another card for you next weekend. Please leave me a comment below. As always thanks for visiting! By the way, here are the card pieces before assemblage!
|
Archives
February 2016
|