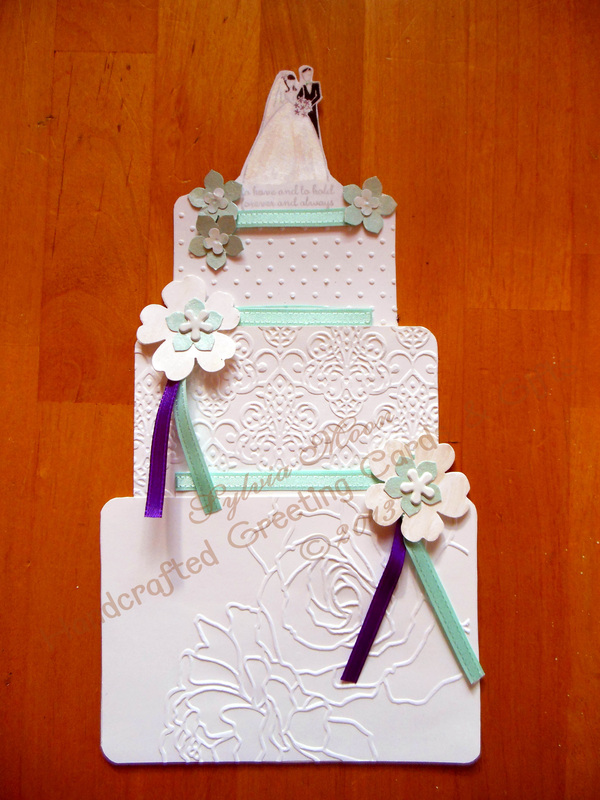
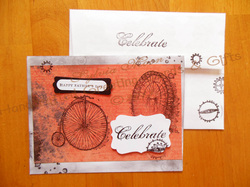
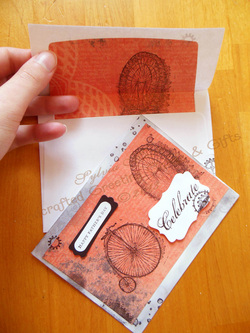
This is the card I made for my co-worker Christi's birthday. I don't really have any stamps that are Western themed so I did some searching for various ideas. I liked the hat image that I found on line the best but when I went to print it off for a template, I found my printer was out of ink and wouldn't print. My daughter is an artist too and is more exact so I had her draw out a template that would fit on a 4" x 6" card. I still had to cut it out and then draw in the the inside, but I think it turned out okay. I wasn't sure about the color so I just went into instinct mode and went with the gold card stock. For the edge of the brim I used a metallic color pencil. The band was a little tricky, but I had some gold curling ribbon that I thought would look good. The background effect looks like wood, but I actually used an animal print embossing folder. The "Celebrate" greeting was done in a gold embossing ink on Whisper White card stock and then I added the goldand white striped washi tape for contrast. I thought it needed something else, so I added the gold "rope" I was concerned that it was too much gold but I rather like the simplicity of the white and gold, don't you?
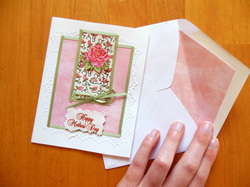
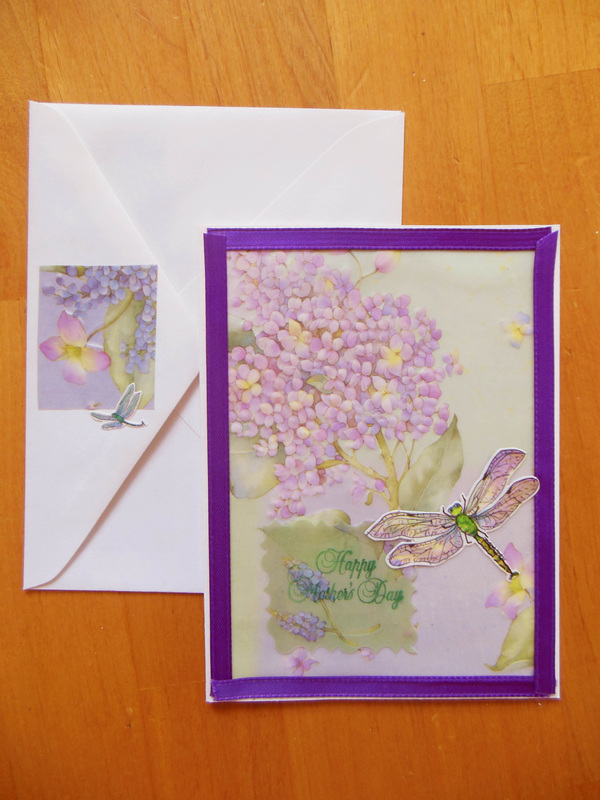
I plan to work on some Father's Day cards tomorrow and Thursday so please check back after Thursday for a couple more cards.
I plan to work on some Father's Day cards tomorrow and Thursday so please check back after Thursday for a couple more cards.