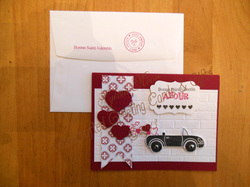
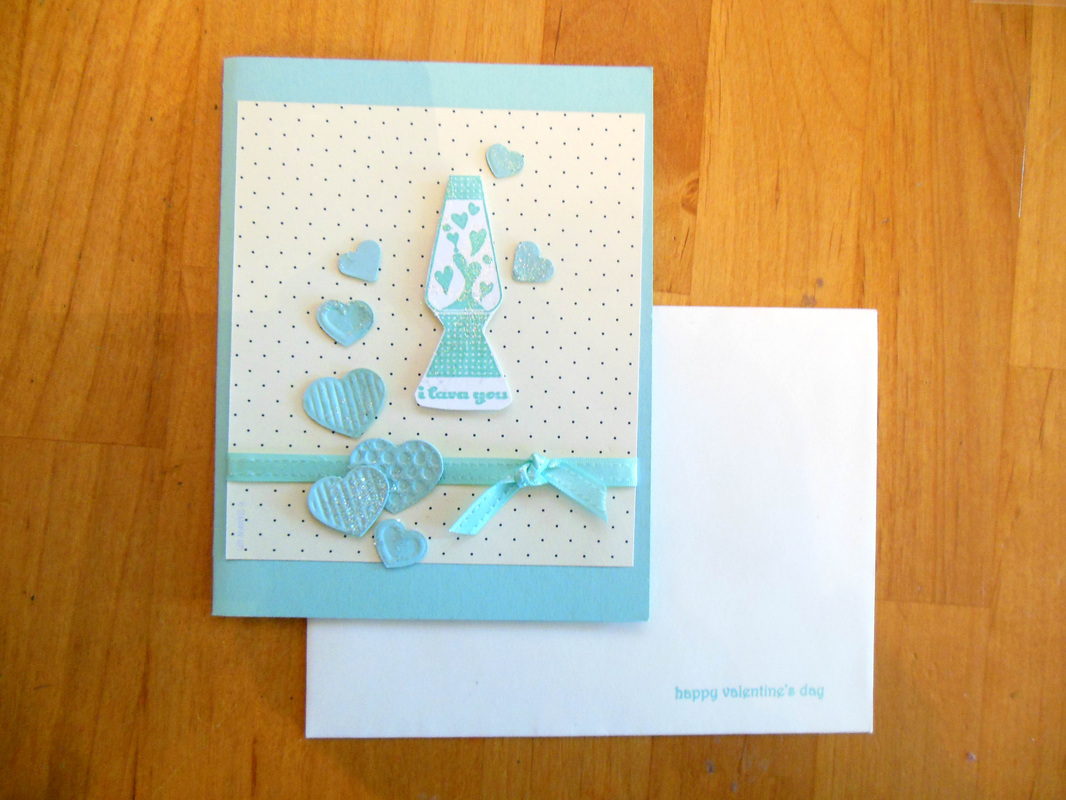
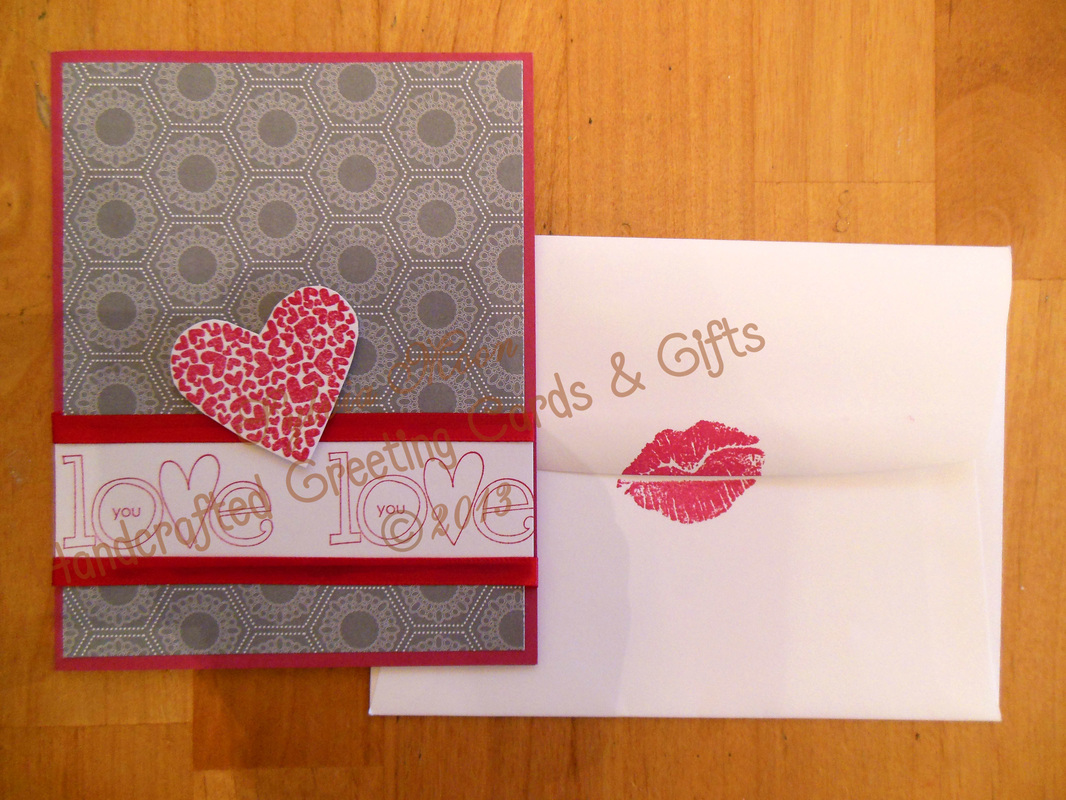
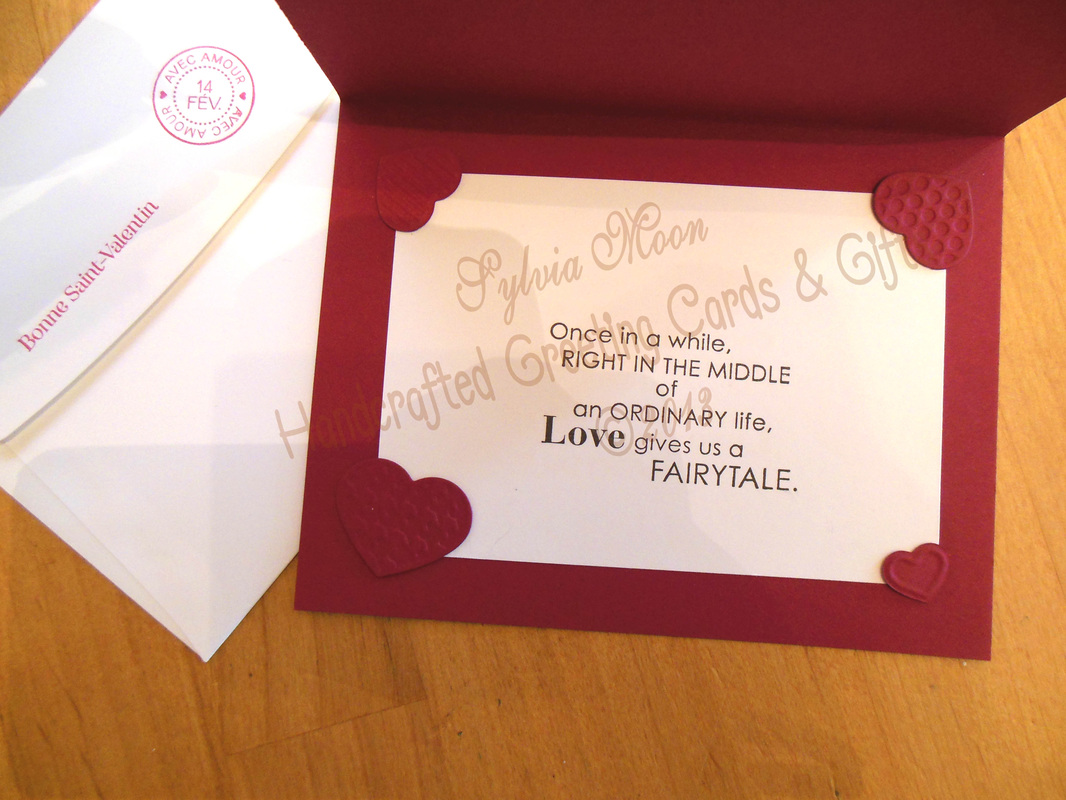
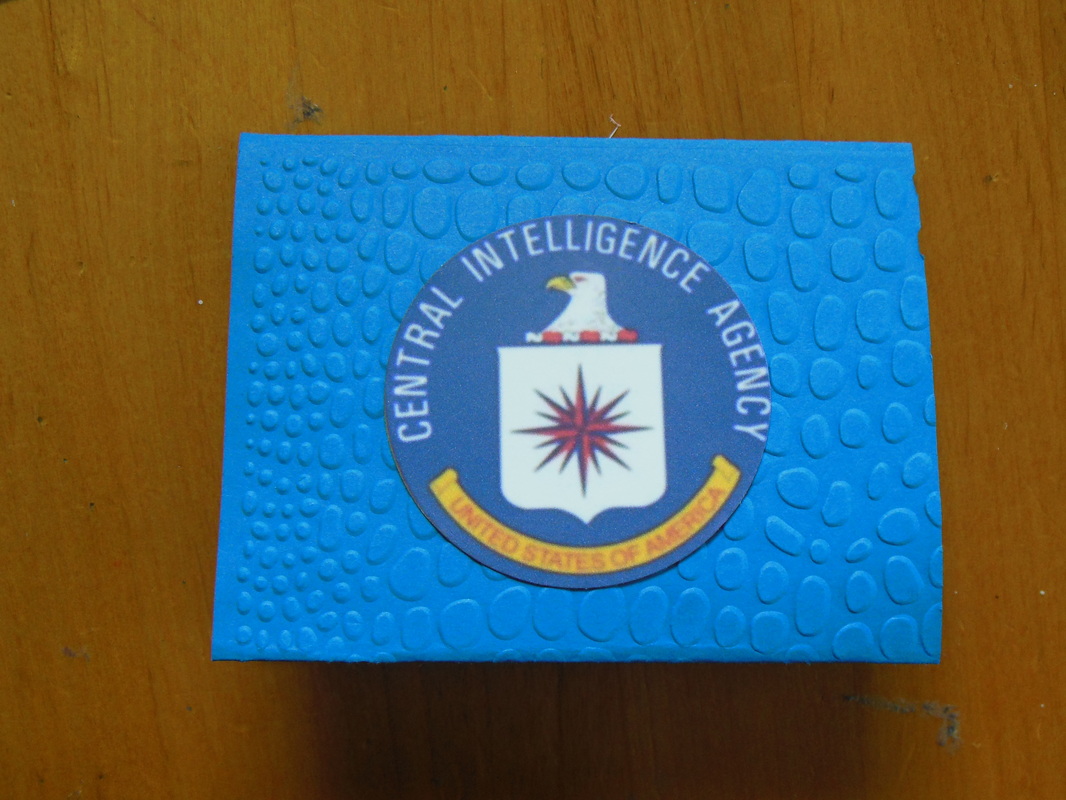
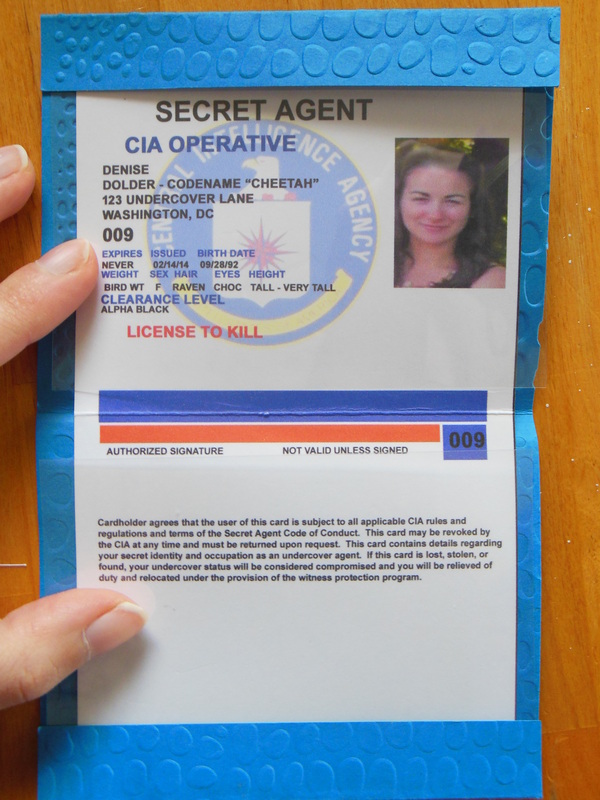
Hi everyone, I thought I'd share a "valentine" card I made and gave to a friend who is a fellow Alias enthusiast. For those of you who don't know what Alias is; it's about a young woman who works for the CIA. If you like spy/secret agent sort of stuff, I highly recommend it. .I think she really liked this fake id (whoops, don't tell on me!). I mean what do you give a friend who's your daughter's age besides cookies? My daughter actually gave her cookies. Check her site at www.emigurumi.weebly.com to see her creations.
0 Comments
I spent the weekend and part of last week working on a custom Valentine's Day order from my good friend Ginger. She always let's me have free rein on designs with just enough information to point me in the right direction. So here's what I came up with: This is the card Ginger will be giving her husband: please look at my December 17th blog for a more detailed description of this card. I made three versions of this card for Ginger's friends; Please look at my February 2nd blog for a more detailed description of this card. I colored the little girl's dresses on each card a little differently and they have three different quotes on the inside. These are the cards I made for Ginger's granddaughters. I will be placing these cards in my gallery where you can see them in more detail. These are coloring books I made by putting together some coloring book pages from the internet. The challenge was to make valentines for a three year old girl and boy. I figured candy was probably not the best thing for little ones and they always like to color, right? Then I decided I needed to bind them together with some kind of cover. My daughter suggested the "this is --------'s coloring book" and to make the letters so they could color them in. I thought that was a great idea but it looked kind of plain still, so I put a picture of a dog on the boy's book and a cat on the girl's. These are the treat bags I put together for 2 six-year old boys and a 10 year-old girl The boys bags I made with Stampin' Up!s "make a monster" stamp set. I added googly eyes for fun. On the little girl's treat bag, I used the crown from"Quinceanera" stamp set and some beautiful paper from the Sale-a-Bration promotion and of course every crown needs rhinestones! The 3-musketeers bars are actually made with marshmellow and they taste like the fancy chocolates with the nugat centers. Yum-yum.:
.I've spent most of the weekend catching up with the things my fantasy entourage should have been doing (you know laundry, cleaning. . .) so I only completed one card. But I think you will like it. I just love this stamp set. It's called "Greeting Card Kids", but unfortunately Stampin'Up! no longer sells it. I think the little girl looks like the Hummel Figurines, but also a little like the Campbell Soup kids. In any case, I stamped the image on watercolor paper, then colored it in with Stampin'Up! markers. The card is made with Cherry Cobbler card stock and on top of that is a piece of white card stock that I embossed with my Big Shot. Then I used two different sizes of die cuts from the Labels Collection; one with Whisper White and one with Cherry Cobbler card stock. Behind that is a ribbon stamped with "Happy Valentine's Day" that I got from Micheals (or maybe Hobby Lobby?). The inside I left blank so you could use if for whoever you like and with whatever sentiments are in your heart. I love coordinating the envelopes with coordinating stamps, so you'll see I stamped the back and front as well. Here are 2 of my new cards for Valentines Day: This card is on yellow card stock from Stampin'Up! The orange card stock is also from Stampin' Up! - this I ran through the big shot with this cool new e.bossing folder from S.U. "Sale-a-Bration" promotion.* It looks like citrus fruit skin doesn't it? On top of that I put another piece of yellow card stock I punched with a 2" scallop punch. Then on a 1-3/8" Whisper White circle, I stamped the lemon image from the "Crazy Mixed up Love" set. I used a Daffodil yellow marker and then a Tangerine Tango to give a little more interest as well as help the greeting "Pucker Up" stand out a little more. To polish the whole thing off I added a nice yellow ribbon. The inside has a blank piece of white card stock for you to put your own sentiment. Last but not least ;the back of the envelope is stamped "Happy Valentines Day" and the front of the envelope is stamped with an arrow-shooting cupid each from other stamp sets. This card was an idea that came to me when I saw the stamp set in the catalog. I love working with "crystal effects" and I thought the light bulb was a perfect image to use with this medium. Getting it to look right was a bit of a challenge though. What do you think? * "Sale-a-Bration" is a once a year awesome promotion from Stampin' Up! It's awesome because with every $50 dollars you spend you get a freebee. check out my demonstrator website by clicking the button below!
I am working on descriptions for my next blog, but if you look at the store and the gallery you will see the new cards I made this weekend.
Hope you like these new cards. It has taken me a little longer than I expected to work in the studio again. I am feeling a little better and have a little more energy so I plan to have more for you next week This first one is "Bee Mine" and was made with some beautiful designer paper I received from my friend Maria. I did not realize until I started working with this paper that it is sturdy enough to serve as both "card stock" and "designer paper" - an added bonus! This worked out very well with this card because I used a portion of the paper to emboss the honeycomb design (see embossing folder below) which I then rubbed with a beautiful blue green ink pad to give it some depth. Next I used a "honeycomb cell" punch to put portions of the design on top of that. The little bee stamp came from Stampin' Up! stamp set "Crazy Mixed up Love" (see an image of this set below) I also sponged the edges of the "cells" to give them depth as well and I also sponged the edges of the envelope. The inside is blank for your own sentiment. This card is called "Hung Up on You". It is on Whisper White card stock from Stampin' Up! I used the "Love you stamp" from the "Best of Love" collection from Stampin' Up! 25 year anniversary, in a repeat pattern for the background, On top of that I placed a small piece of red & white striped designer paper. Then I used some silver embossing ink to stamp the "Hung Up on You" stamp from the "Crazy Mixed Up Love" set. Of course it needed a little bling, so I added a rhinestone to the middle of the heart on the hanger, At the bottom I used a window punch with "Happy Valentine's Day" stamped on it. Under that is a designer paper punched with the modern label punch. The inside of the card is blank for your own sentiment. I stamped "Love You" on the front and back of the envelope. Here are some of the new stamp sets I have and will be using: Here are the embossing folders I used on the cards above:
The card above is made with cherry cobbler card stock. On top of that is a grey designer paper and on top of that is a border made with whisper white card stock stamped with the words love you in red and bordered with red satin ribbon. A heart shape stamped with tiny hearts design is cut out and affixed to the top. The envelope is stamp with kissing lips. The inside is blank for you to write your own greeting. This card sells for $5. This card is very elaborate with 3 dimensional features; a white "brick" wall, a car with brad hubcaps, embossed and cut out hearts and various other attachments to the outside. The inside has a nice greeting accented with embossed and cutout hearts. As you can see the outside of the card and the envelope are stamped with french greetings. This card sells for $6.
|
Archives
February 2016
|