| So here I am mod podging some leaves I collected (with my daughter) on some of our walks. I actually started out using something called Mega Puzzle - save a puzzle. When this ran out and I couldn't find it where I happened to be shopping, I decided to go with Mod Podge. This dries clear but goes on looking like white glue. 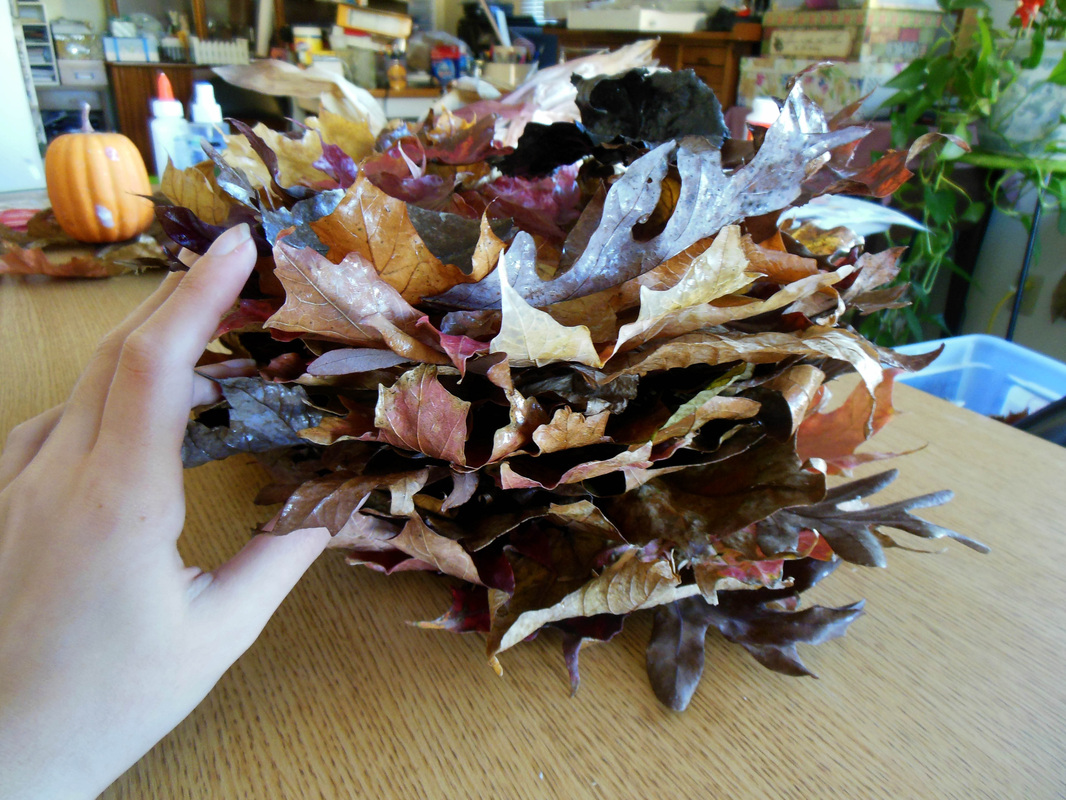 |  Here's a stack of leaves I've completed so far for the centerpieces. It doesn't look like much but it takes a while for the mod podge to dry on each side. |
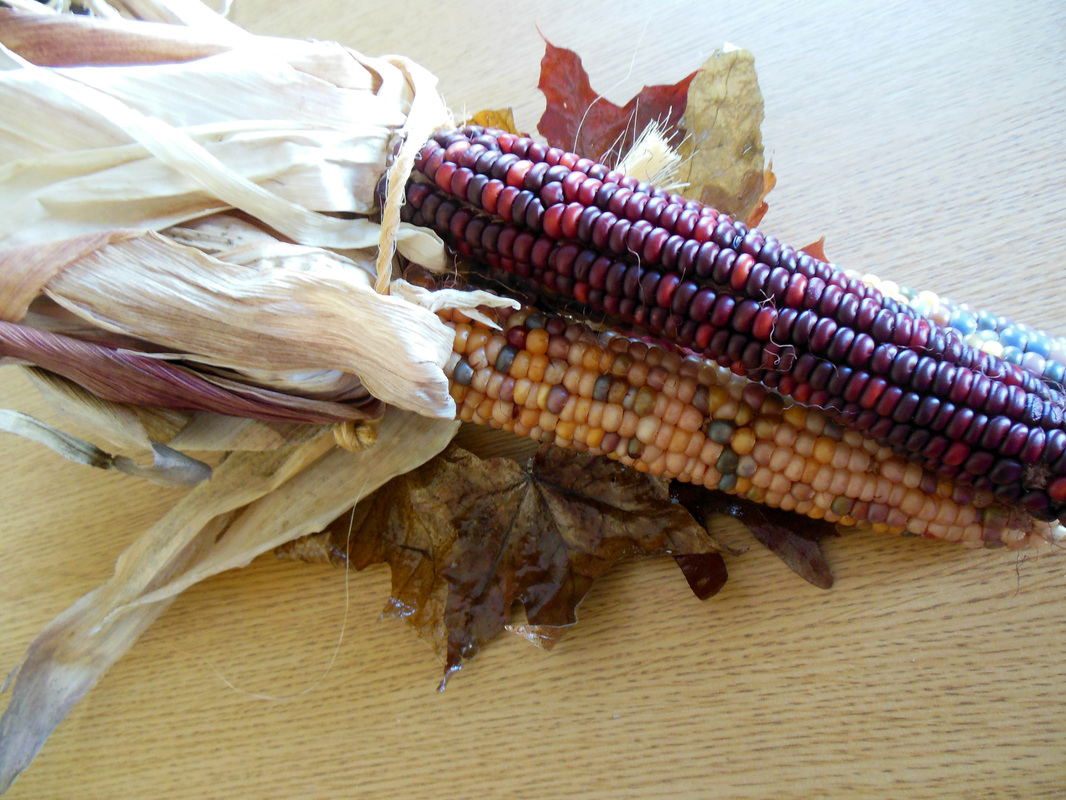
Here is a sneak peek at how the corn centerpieces will look.

And this is how the synthetic gourds centerpiece will look. I do not have a picture of the natural gourds at this time, but they will look pretty much the same. I will also have small pumpkins. I hope to have all the leaves done by next weekend. Then I can start my Thanksgiving and Christmas cards and other items in earnest. Thank you for visiting and please leave me a comment on what you think about these centerpieces.