As Always Thank You For Visiting!
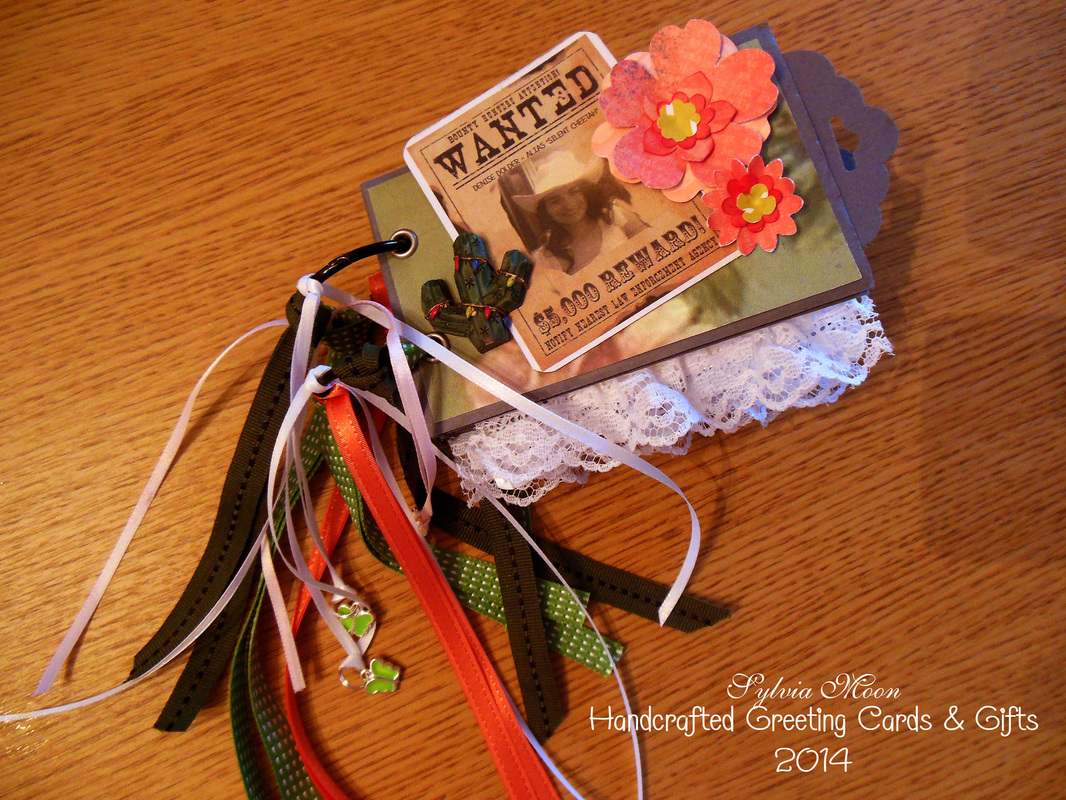
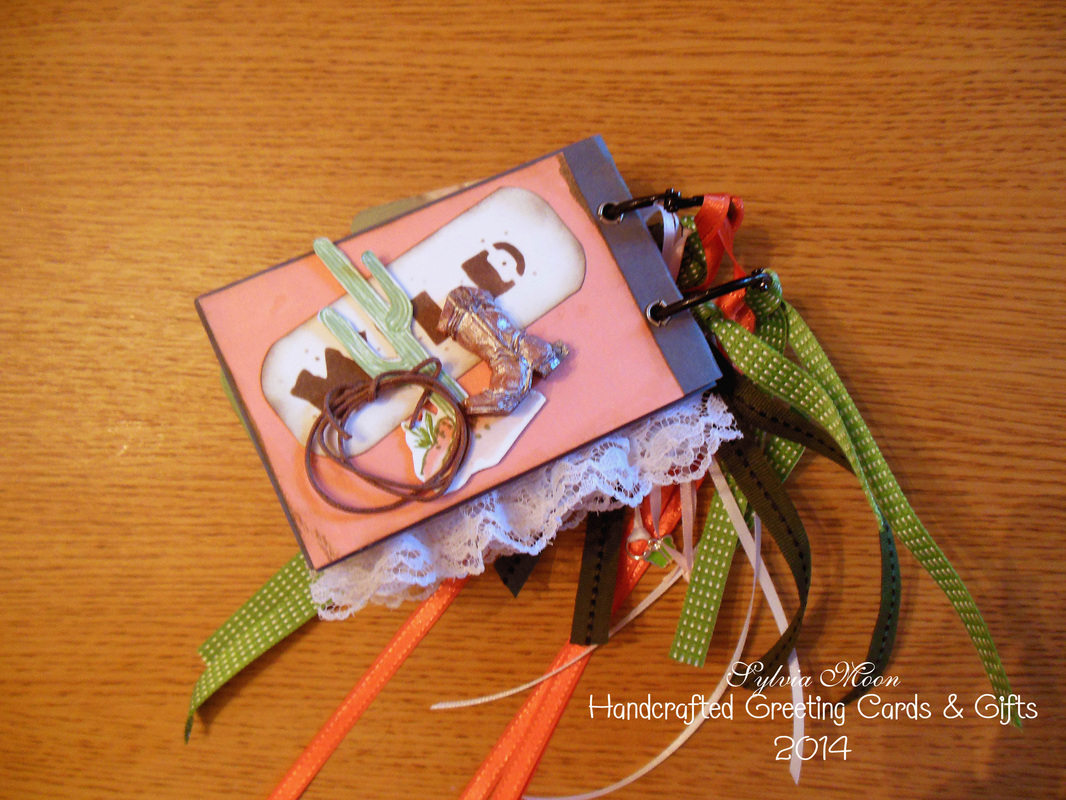
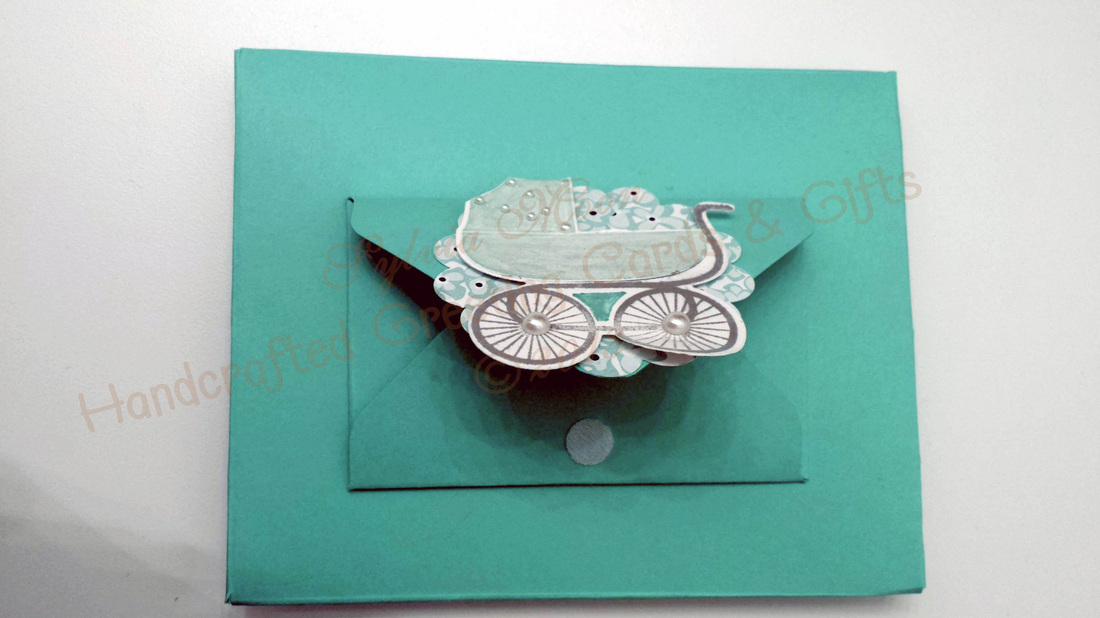
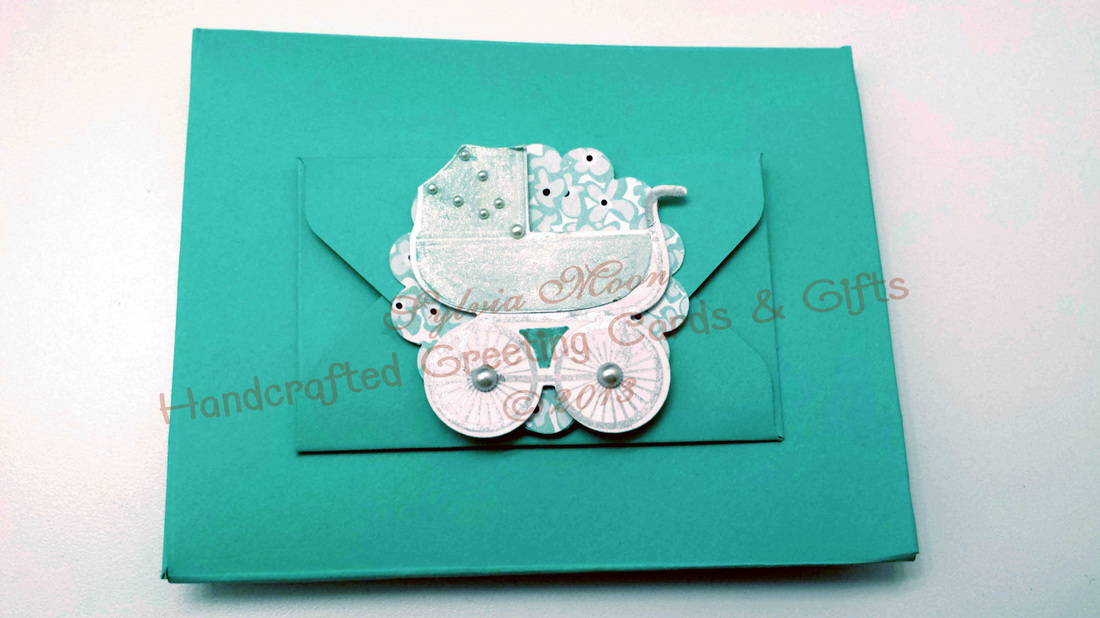
Here is my newest mini album. It was for another co-worker that left. Perhaps it is the qualities that made her such a good Recovery Support Specialist that will make her an outstanding beautician. . . 
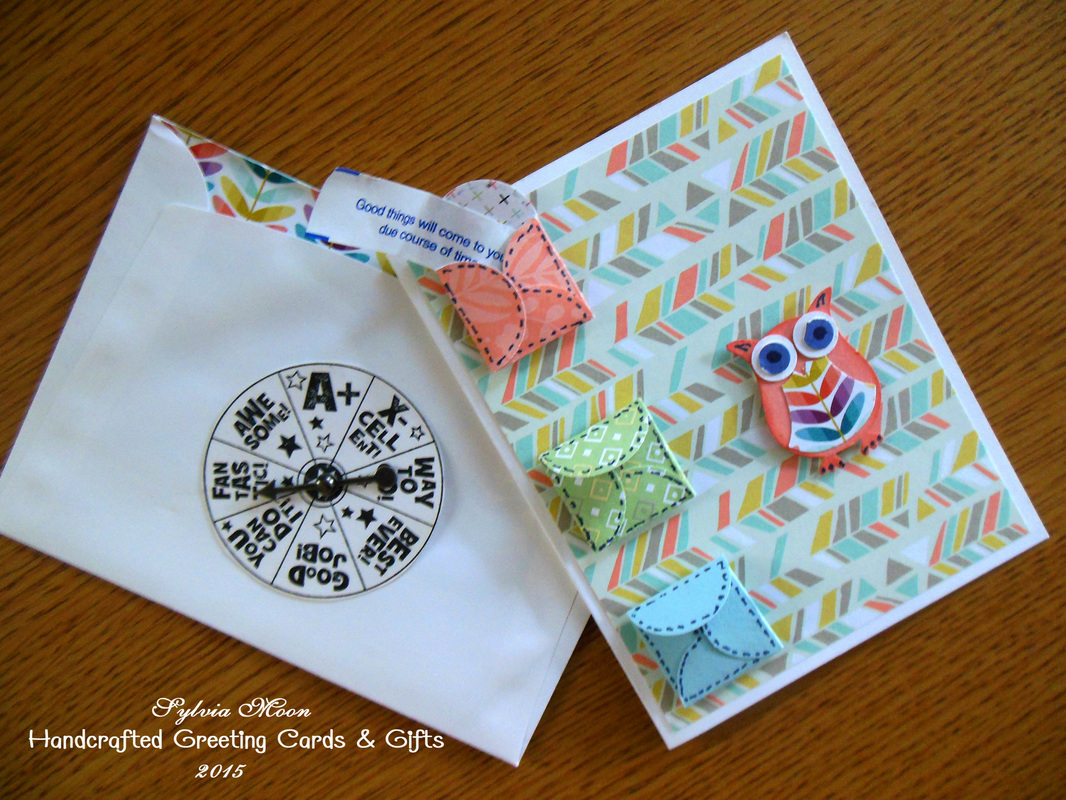
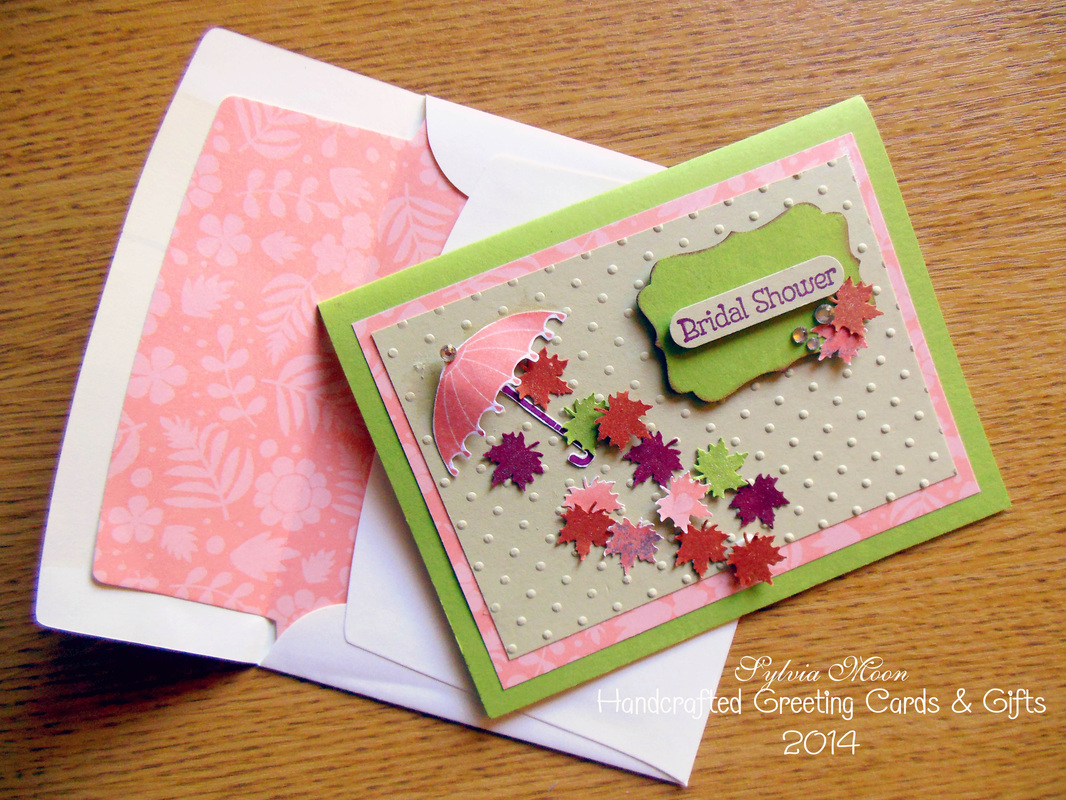
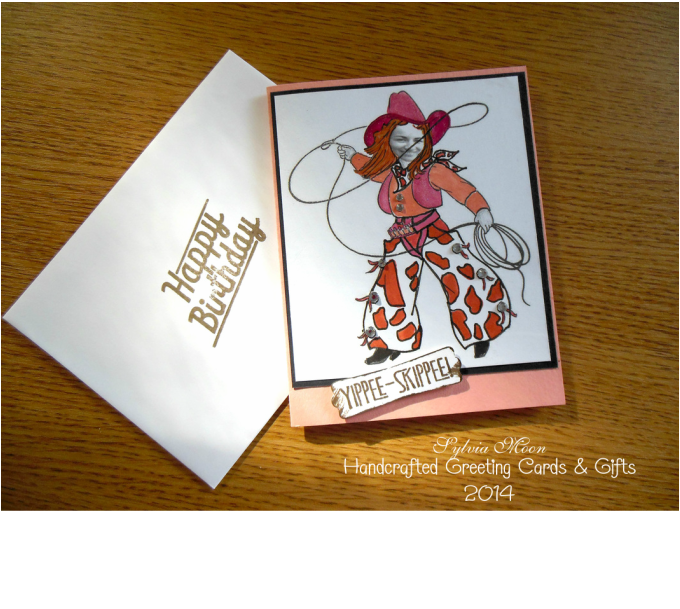
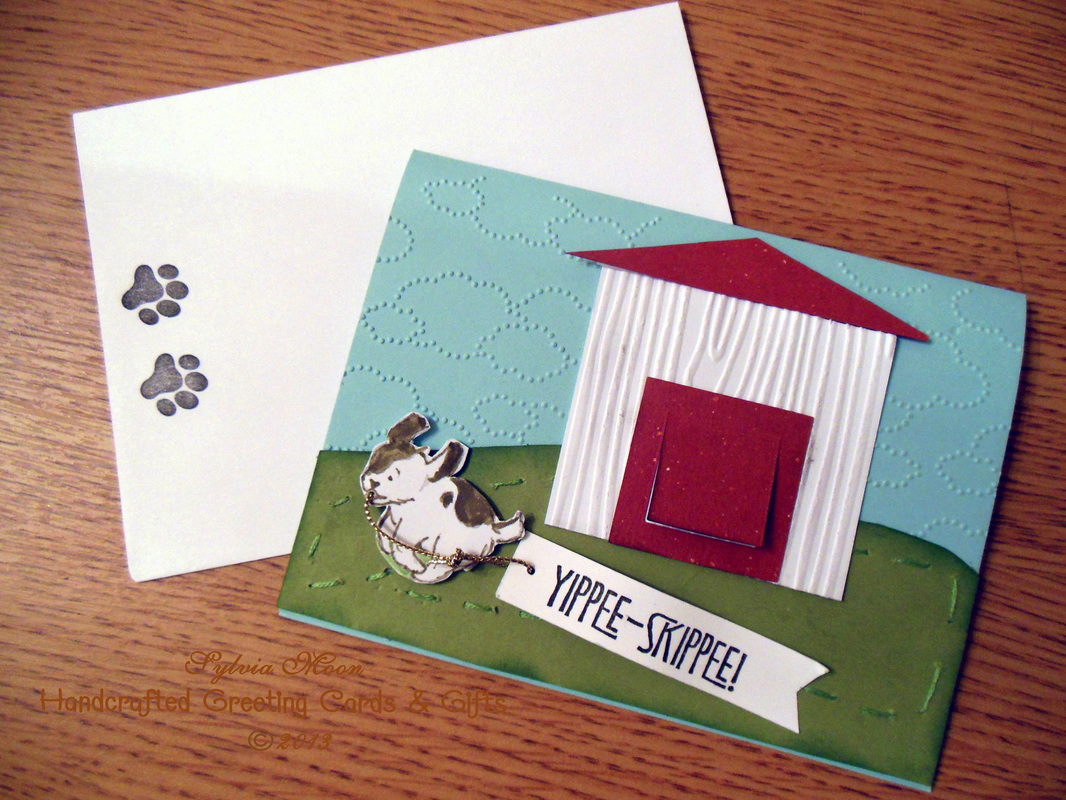
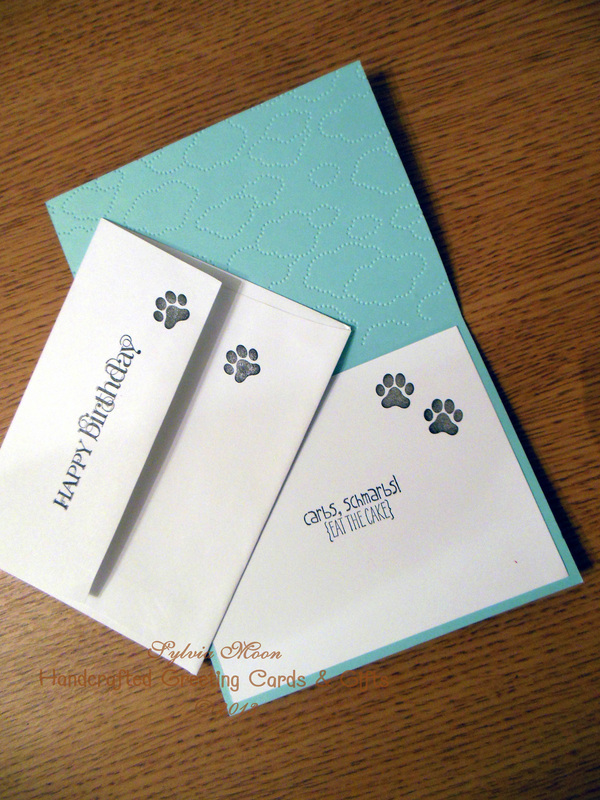
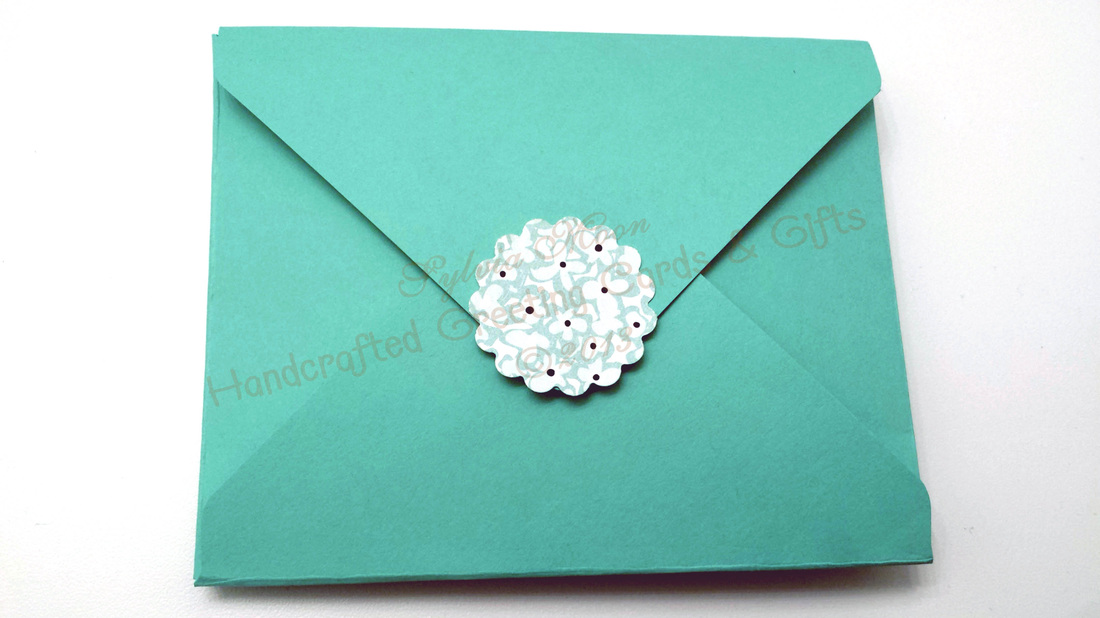
I actually had more fun making this album/card than I thought I would. I attached images to recycled greeting card envelopes and then made inserts by printing various information or quotes and left the backside blank for Katy's co-workers to leave her their thoughts and well wishes. I rounded the corners of the inserts and attached a ribbon to make it easier to slide them in and out. I tried to get a good mix of glamour and humor. I also matched the image on one side with a quote or something related to other side of the page. The inserts were a little more random, but I liked the idea of having the pages free of writing so that it was a memento and yet something fun on it's own. This is a one of a kind creation, but if you have someone who you would like to honor in some way with a custom mini of their own, please contact me and I will be glad to work with you. Please leave me a comment below and
As Always Thank You For Visiting!
0 Comments
Here is a card I created for my daughter. After some bad times, She just landed a job she has wanted for a while doing plan-o-grams at various locations and at various stores. She likes cute and colorful things so I thought she would appreciate this owl card, I made from Stampin' Up's owl builder punch. I also used a mini envelope punch for the teeny tiny envelopes which I "stitched" with a marker to make them pop. Unfortunately the envelope punch is now unavailable (from Stampin' Up!) I then stuffed them with some inspirational fortunes I had saved from various cookies I have eaten over the years (you never know when they will come in handy!) I also used a stamp set that is now unavailable called Take a Spin. This was stamped with black ink, then fussy cut and attached with a spinner arrow brad to the envelope. I am hoping these fortunes and spinner phrases will inspire her in the future when she is feeling down. Perhaps it will at least make her smile! Please leave me a comment below.
And as Always thank you for visiting! Hello Everyone! Here is a sneak peek for my next post. I have been working on quite a few projects but haven't had time to upload them. Please stay posted and I will get pictures and information to you within the next few days. I have a few days off from work...Yay....to catch up. As always thanks for visiting!
This is the latest Tissue Paper Mini Album I've created. I used a Cowgirl Theme using some designer papers I created myself on Photo Shop. I also used Stampin' Up! card stock, inks, ribbons and punches. Some of the ribbon though, is from various craft stores that I have accumulated over the years from Micheal's and Hobby Lobby as well as charms and embellishments - new ones and others in my stash. The cover is a wanted poster with a "cactus rose" design using a resin cactus and punched out flowers which were daubed on the edges and glued together and shaped. I also attached little butterfly and flower charms to the ribbons.
I used some plastic lace shelving I'd gotten recently from my friend Ginger, but then realized their was an actual back because, you know, if your putting it on a shelf it doesn't need to look as nice on the back right? Luckily I had some other lace ribbon that I attached to give it a better finish. Whew! On page 1, I made a little pocket with a cowgirl embellishment. Inside the pocket is a folded card that can be used for writing little notes with maybe a picture or ticket enclosed. On page two is a little booklet I made, that is held in place with a green bow. Page 3 has a pocket trimmed with lace and is held with small white button brads and 1 white flower brad. Page 4 is plain except for a green satin ribbon at the bottom. Pages 5 and 6 are also plain to allow for pictures. Page 7 is also plain except a border of lace and green ribbon trim. Page 8 is one of my favorites. It features a stamped mama and baby horse which are cut away and affixed to the page to give it a 3d pocket. Behind it is a folded piece of card stock that can be used for notes. below are the inserts which have been stamped with various western themed images in silver ink. This is the back cover of the mini album. Here I've used a stencil (wild), a piece of hemp cord as a lasso, a cactus stamp and a resin boot which was over painted with a white shimmer paint. If you like this album, please leave a comment.
I will be doing more of these albums so keep checking back from time to time. If there are some themes you'd like to see, or if you'd like to order a custom design for yourself or as a gift please go to my contact page to place your order. As always thanks for visiting and don't forget to check my other pages! Good morning everyone! We had our first snowfall yesterday and my daughter and I decided to go out in the magical environment and videotape (her video actually) the beauty of the moment..... It now feels like Christmas season. So it seems like an appropriate time to start thinking of sending those Christmas cards and purchasing gifts and ornaments. I have thought long and carefully about doing a show this year and have decided to pass. Now please don't freak out. I will still take your orders and make beautiful items for you. I just won't be making things in mass volumes. Instead if you will please look through my galleries and order from the designs you see or if you would like something different please don't hesitate to contact me and I will work with you to create something more to your liking. If you look at my blog on October 12th, you will see that I have added a recyclable option this year. I am also open to other ideas from you as well so please feel free to leave comments or go to my contact page to let me know what's on your mind.
This card was actually done last month, but because I had to wait a little longer than normal to post it, I forgot! This was a fall wedding shower card.
So here's how my friend Denise's card turned out. I initially wanted to do a dream catcher card for her, but couldn't quite get the logistics figured out. As it turned out we wanted to do a western theme and I found a cowboy image that I thought looked cute. Then I decided to personalize it with her face. The image was actually a coloring book page clip art so it was fun altering it. I used markers to color the outfit and went over the vest and hat with clear "Wink of Stella" and added rhinestones for the buttons and chaps decorations. It's too bad the sparkle doesn't show up because it really adds so much. My daughter had the idea of using Red Solo Cups for lighting, so we just cut slits in the bottom and slipped in the bulbs from the light strings, spacing them about 4 bulbs apart. Then she put up black and cheetah streamers around them and here is how they turned out. She also did this wanted poster and we put a plastic cow skull (purchased from Hobby Lobby) above that. What do you think?
I am somewhat blocked with my mini album, but have been doing other things. Here is a birthday card I made last week. I also began an art journal yesterday. I will post my first page either tomorrow or Wednesday. Hope you had a nice Labor Day and Thanks for visiting.
I still have not finished my Halloween mini album, but here is a card I made for my friend Denise to thank her for her generousity in bringing back some beautiful gifts from her trip to England for my daughter and I. I did this card on Whisper White card stock and distressed in on both sides using Tim Holtz Walnut Stain and then stamping over that with En Francais (script) background stamp from Stampin' Up! Then I deckled the edge of piece of non-S.U. black card stock (O' heavens!) and on top of that I put a torn piece of printed tissue paper. I used the stamp set Vintage Verses for the sentiment. The metal embellishment came from a Vintage Valentine's embellishment package I bought from Stampin' Up! a year or two ago. I should have more to post by the end of the week. As always, thank you for stopping by!
I just received the pictures from Sabrina last night - I guess I should have been a little more patient.. . . I want to apologize in advance for all the color and lighting shifts. I forgot to put the pictures my daughter took of the card insert and detail of the little cup charm, so here they are. The two pix above are of the front of the new envelope with the attached credit card envelope. I used my new Sizzix die - Baby's Firsts from the bundle that includes the Stampin' Up! stamp set - Something for Baby to make the baby carriage. I first stamped the carriage with Bermuda Bay ink and covered it with - Wink of Stella - to give it a frosty look and then cut out the carriage top. Next, I stamped the carriage with silver ink so that the wheels and handle would look like metal and then I glued the carriage top to the silver image. I added tiny pearls (which are actually white) to the canopy and medium sized ones to the hubs of the wheels. I used velcro dots for the closures. Below is the back of the envelope with designer paper cut with a small scallop punch. This also has a velcro closure.
|
Archives
February 2016
|